
Estimated Repair Time: Less than an hour
Skill Level: Beginner
Estimated Cost: $20-50
Introduction
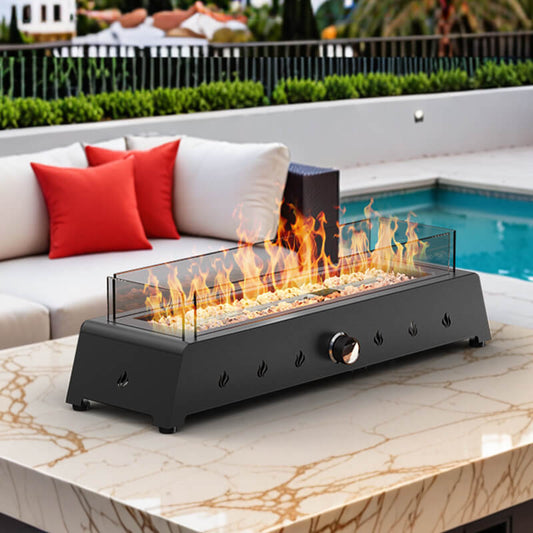
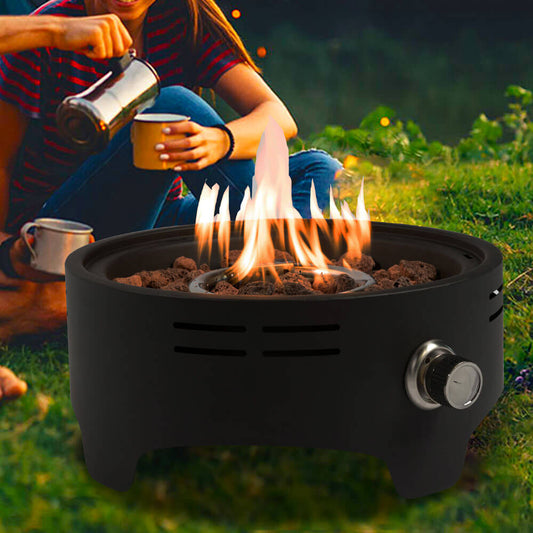
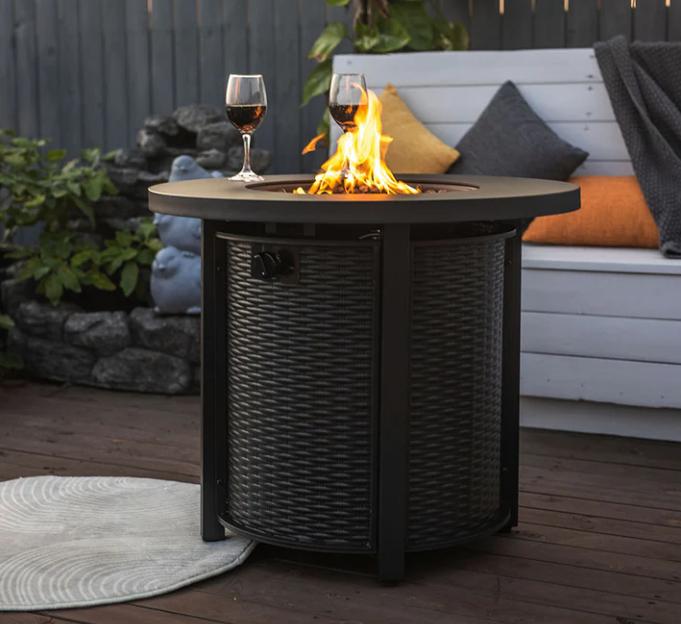
Is your gas fire pit refusing to light just when you’re ready to unwind? Often, the solution is simpler than you might expect.
Tools Needed:
- Combination wrench set
- Flashlight
- Screwdrivers
- Vacuum
Materials Needed:
- 0000 steel wool
- Gas leak detector
Step-by-Step Instructions:
Step 1: Turn Off the Fuel Supply
Always shut off the fuel supply before starting your repair. For propane fire pits, close the tank valve and disconnect the fuel line.
Step 2: Check the Fuel Tank
Ensure the tank isn’t empty as low fuel levels can cause the flames to sputter or extinguish. Always open the tank valve slowly before igniting the fire pit to prevent the safety check valve from activating and stopping the fuel flow.

Step 3: Inspect the Ignitors
Verify that the ignitor is producing a spark. If battery-operated, check and replace the battery if necessary, ensuring correct installation of the battery’s polarity. Also, check and secure the connection between the ignitor switch and the ignitor. Clean the ignitor terminal gently with steel wool or a soft bristle wire brush.

Step 4: Detect Gas Leaks
If you smell gas without a flame, immediately turn off the gas valve and check the supply line, valve, and fittings for leaks using a gas leak detector liquid. Apply the detector liberally and turn the gas valve on slightly; bubbles indicate a leak. Replace damaged parts as needed and tighten any loose fittings. Repeat until no leaks are detected.


Step 5: Clean the Burner Ports
Examine the burner ports and fuel orifice for blockages. Clear any debris by removing lava rocks and either vacuuming or blowing out the burner ports.

Step 6: Check the Thermocouple
If your fire pit has a thermocouple, ensure all connections are secure but not overtightened. If the thermocouple is faulty and troubleshooting hasn’t helped, it may be time to consult a professional.
Step 7: Address Whistling Sounds
A whistling noise can indicate bends in flexible lines or a mismatched regulator size causing excessive gas flow. Inspect and correct these issues to eliminate the noise.
Step 8: Refer to the Owner's Manual
Keep your fire pit’s owner’s manual handy for troubleshooting and ordering replacement parts. Most manufacturers provide specific replacement components.
By following these detailed steps, you can efficiently address common issues with your gas fire pit and ensure it’s safe and ready for your next outdoor gathering.